Enabling Geolocation in Safari
To check in your location for the day, you need to enable geolocation in your browser. In Safari, location services may be blocked by default or on a site-by-site basis. If you want to enable geolocation, follow the steps below.
Step-by-Step Guide to Enabling Geolocation on macOS Safari
1. Open Safari Preferences
- Launch Safari on your Mac.
- In the top-left corner of the screen, click Safari in the menu bar.
- From the dropdown menu, select Preferences.
2. Navigate to the Websites Tab
Once the preferences window is open:
- Click on the Websites tab.
- In the left-hand sidebar, scroll down to find Location under the “General” section.
3. Manage Location Permissions
The Location section lists websites that have requested access to your location:
- You will see websites that have asked for location access listed with one of three options: Ask, Deny, or Allow.
- To allow a specific website to access your location, choose Allow from the dropdown next to its name.
- For sites where you want to be prompted before access, choose Ask.
- If you want to block location access for a site, choose Deny.
4. Set Default Location Behavior
At the bottom of the Location settings, there is a When visiting other websites option:
- Select Ask to be prompted for geolocation access each time a new website requests it.
- Select Deny to block all websites from accessing your location.
- Select Allow to automatically grant all websites access to your location without asking.
5. Testing Location Access
Once you’ve allowed or enabled location access for specific websites:
- Visit a website that uses geolocation, such as a map or weather service.
- If prompted, click Allow to grant the website access to your location.
- The website should now use your physical location to provide its services.
6. Resetting Location Preferences
If you want to reset all your location permissions:
- Return to Preferences > Websites > Location.
- Scroll to the bottom and click Remove All to clear all saved location preferences.
- This will reset all sites to the default behavior, either asking, blocking, or allowing location access as specified.
Step-by-Step Guide to Enabling Geolocation on iOS Safari
If you are using Safari on an iPhone or iPad, you can enable geolocation through your device settings:
1. Open iOS Settings
- Go to your device’s Settings app.
- Scroll down and tap on Safari.
2. Access Location Settings
In the Safari settings:
- Scroll down and tap on Location.
- You’ll see three options for location access: Never, Ask Next Time or When I Share, and While Using the App.
- To enable geolocation, select While Using the App. This will allow Safari to access your location only when you're actively using the app.
3. Manage Location Access for Individual Sites
If you want to manage location access for specific websites on iOS:
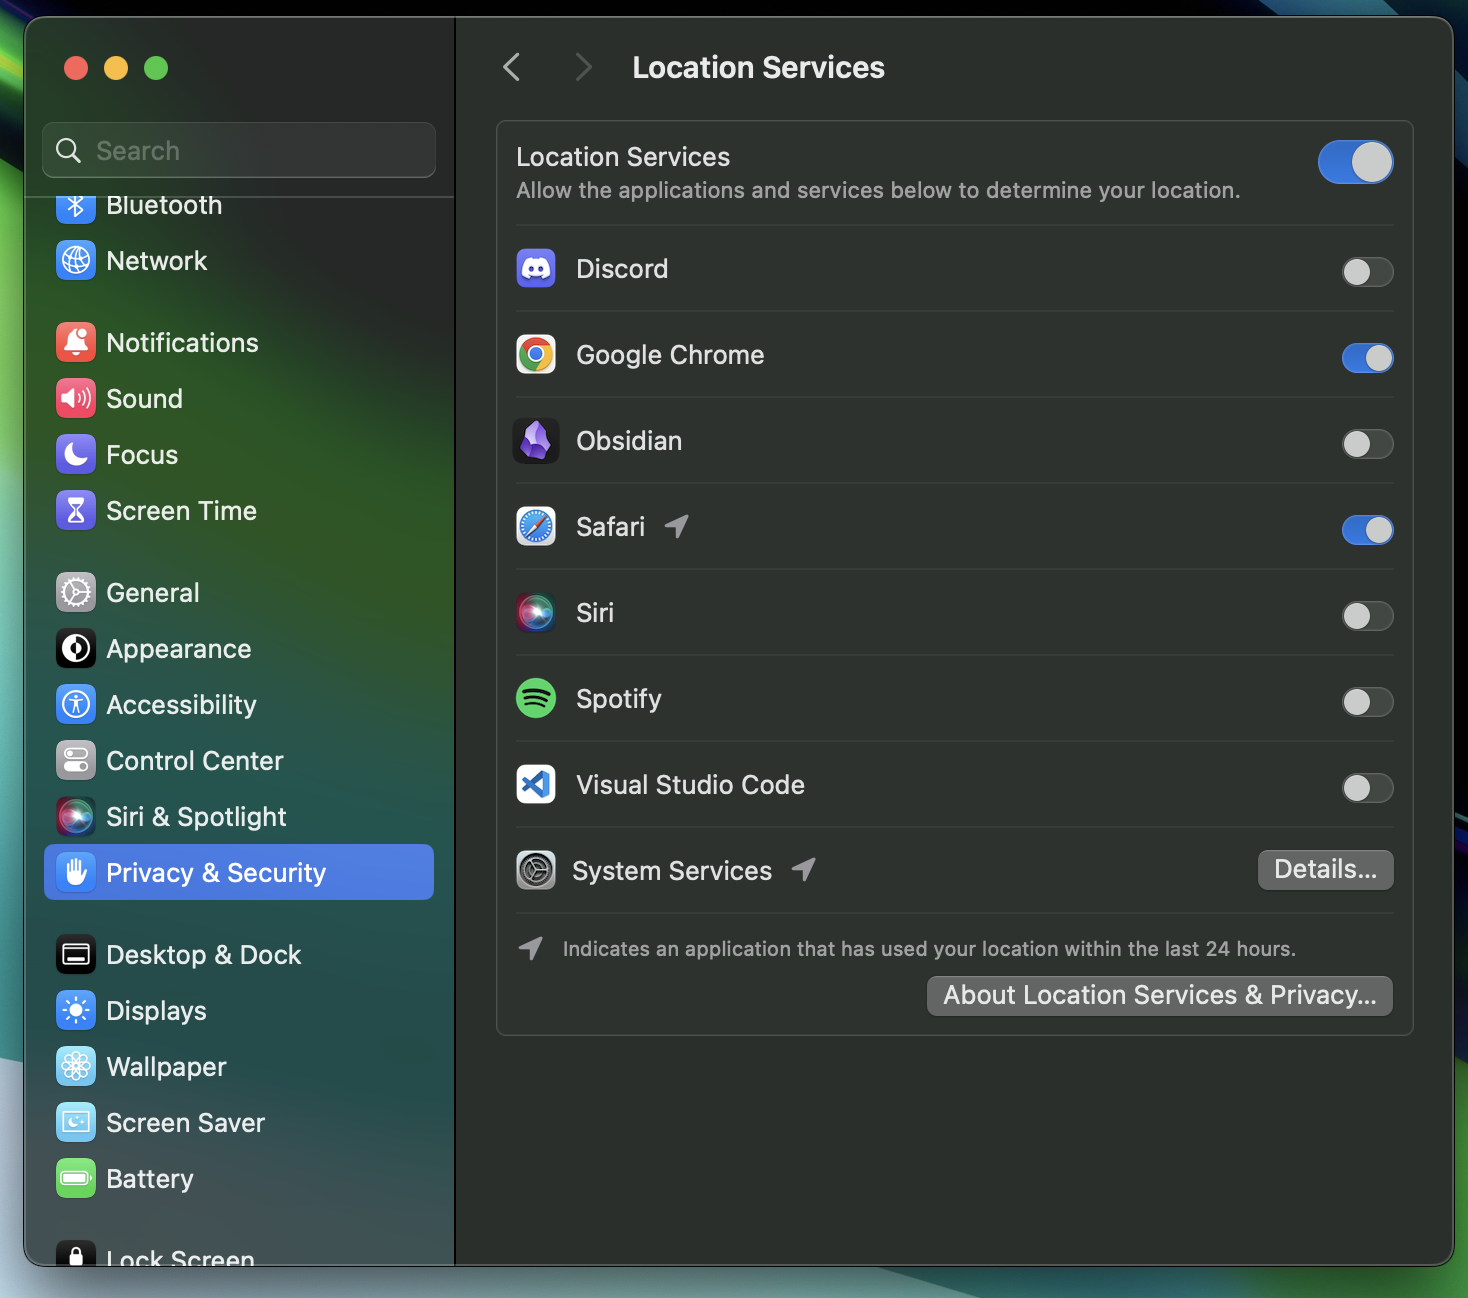
- Go to Settings > Privacy & Security > Location Services.
- Scroll down to find Safari Websites.
- Select your desired option: Never, Ask Next Time, or While Using the App.
4. Testing Location Access on iOS
Once you’ve enabled location access in Safari:
- Visit a website that uses geolocation, such as a map or weather service.
- If prompted, tap Allow to grant the website access to your location.
- Safari should now use your current location to provide location-based services.
Additional Notes
- If you're having trouble with location services, make sure your Mac or iOS device has Location Services enabled in the System Preferences or Settings app.
Here's an screenshot example of where it is in settings:
By following these steps, you can control how and when websites access your location in Safari on both macOS and iOS.